Step 1: Register the Core UI Widget
-
Log into your ArcGIS portal.
-
Navigate to the Content tab and select New Item.

-
Choose Application, then select Experience Builder Widget.
 S
S -
Enter the following manifest URL:
https://portal3.emswebmap.com/exbwidgets/XUSearch/manifest.json
-
Click Next, provide a title (e.g., "Core UI"), and choose a save location.
Step 2: Create Your Project
-
Select Create App and choose Experience Builder.
-
Select a template. The Jewelry Box template is recommended as it includes a default left-side panel.

Step 3: Deploy the Widget
-
Clear any existing content from the left panel.
-
Click the Insert icon (top-left) and scroll to the Custom section.

-
Locate Core UI and drag it into the left panel.

-
Set the widget height to Full Height in the style settings.
Step 4: Connect to Map Data
-
On the right-hand configuration panel, find Select Map Widget.
-
Use the dropdown to select your project's Map widget.
-
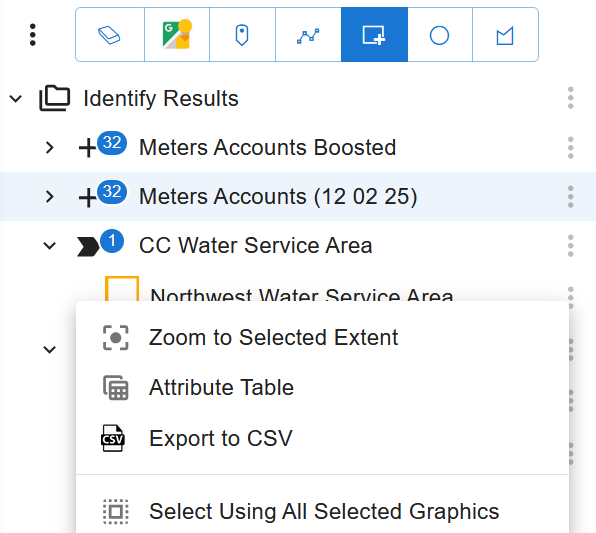
Once connected, your map layers will automatically populate within the Core UI interface.